Together at home
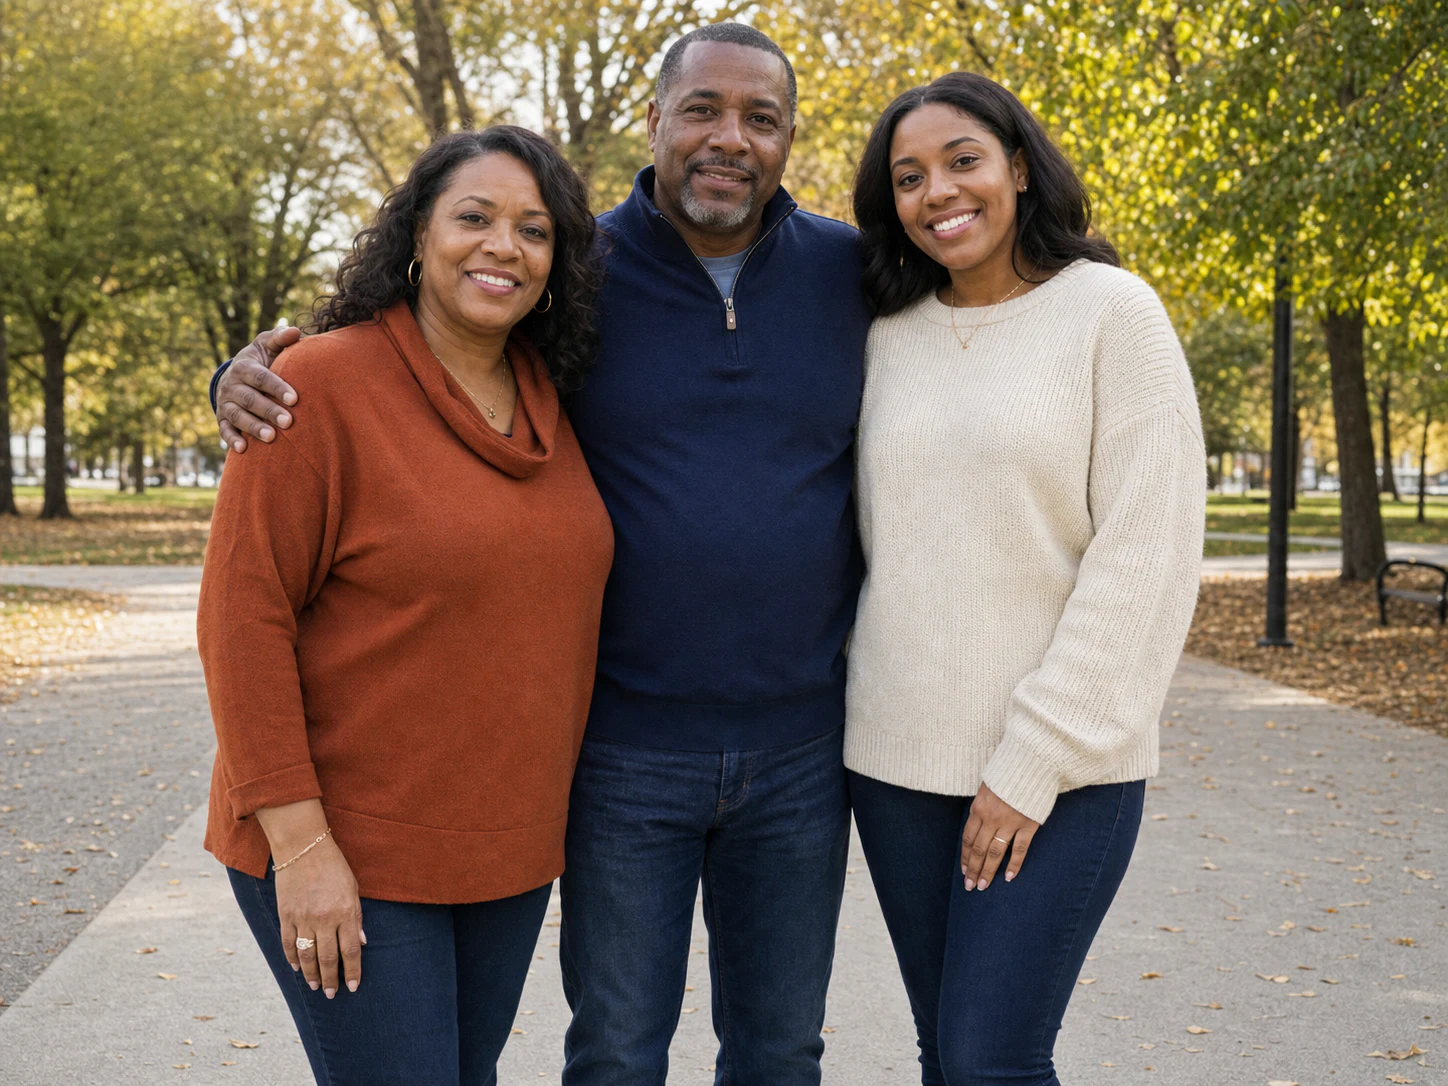
A separate portrait was integrated into an existing indoor family photo, with the group composition, scale, and room lighting adjusted for the completed image.
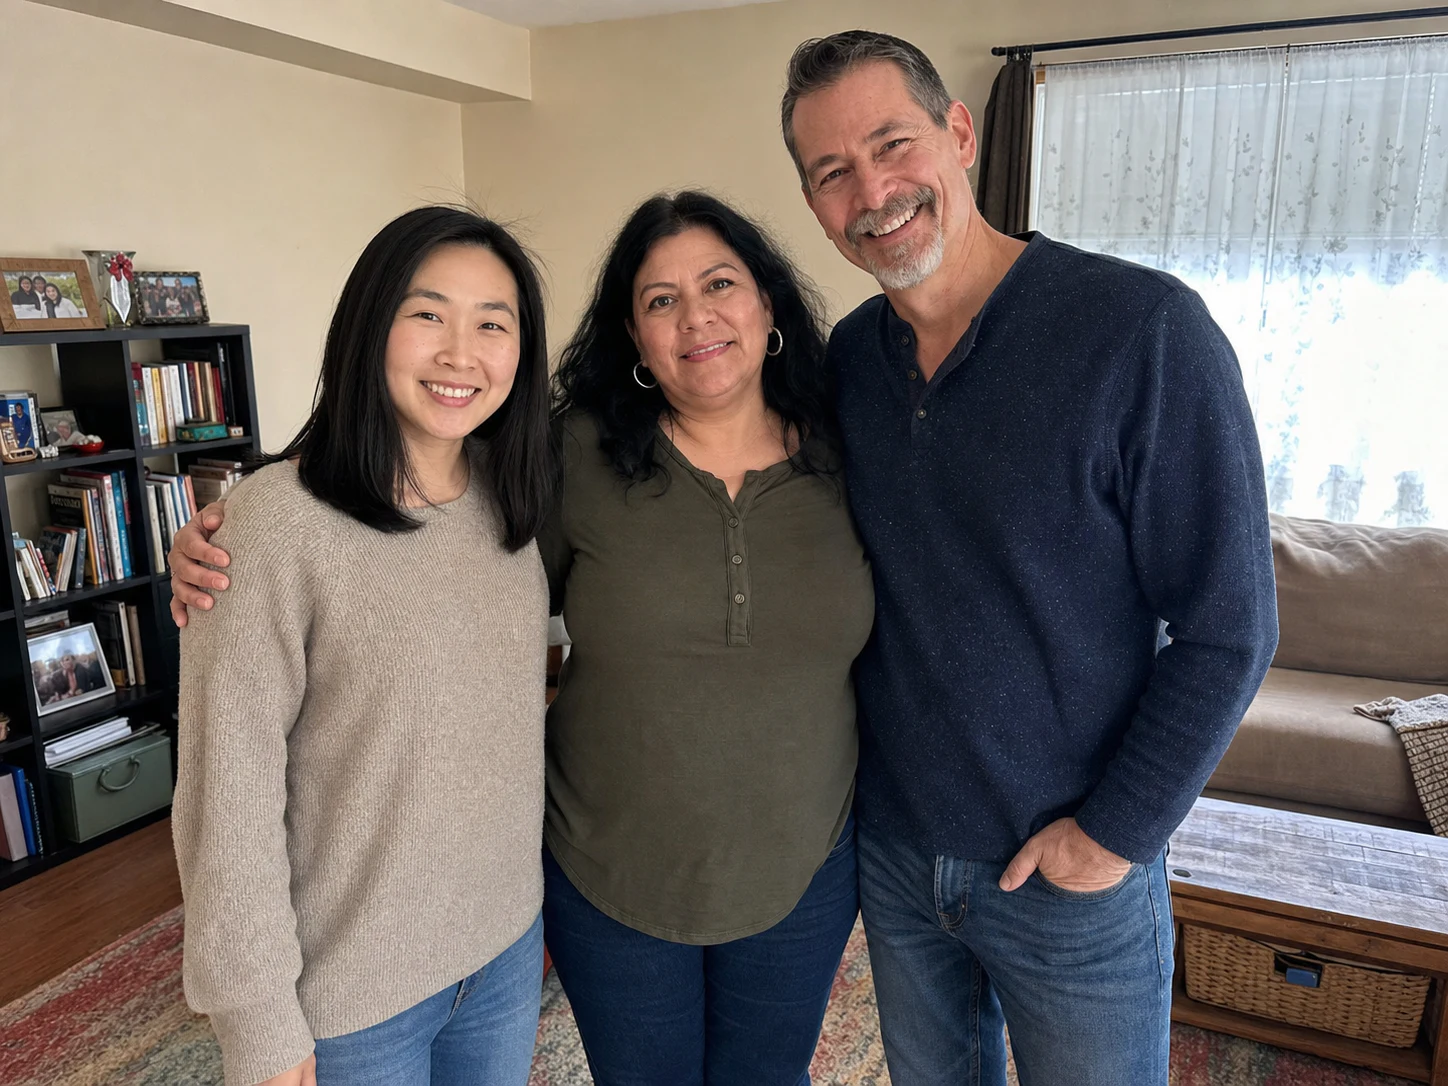
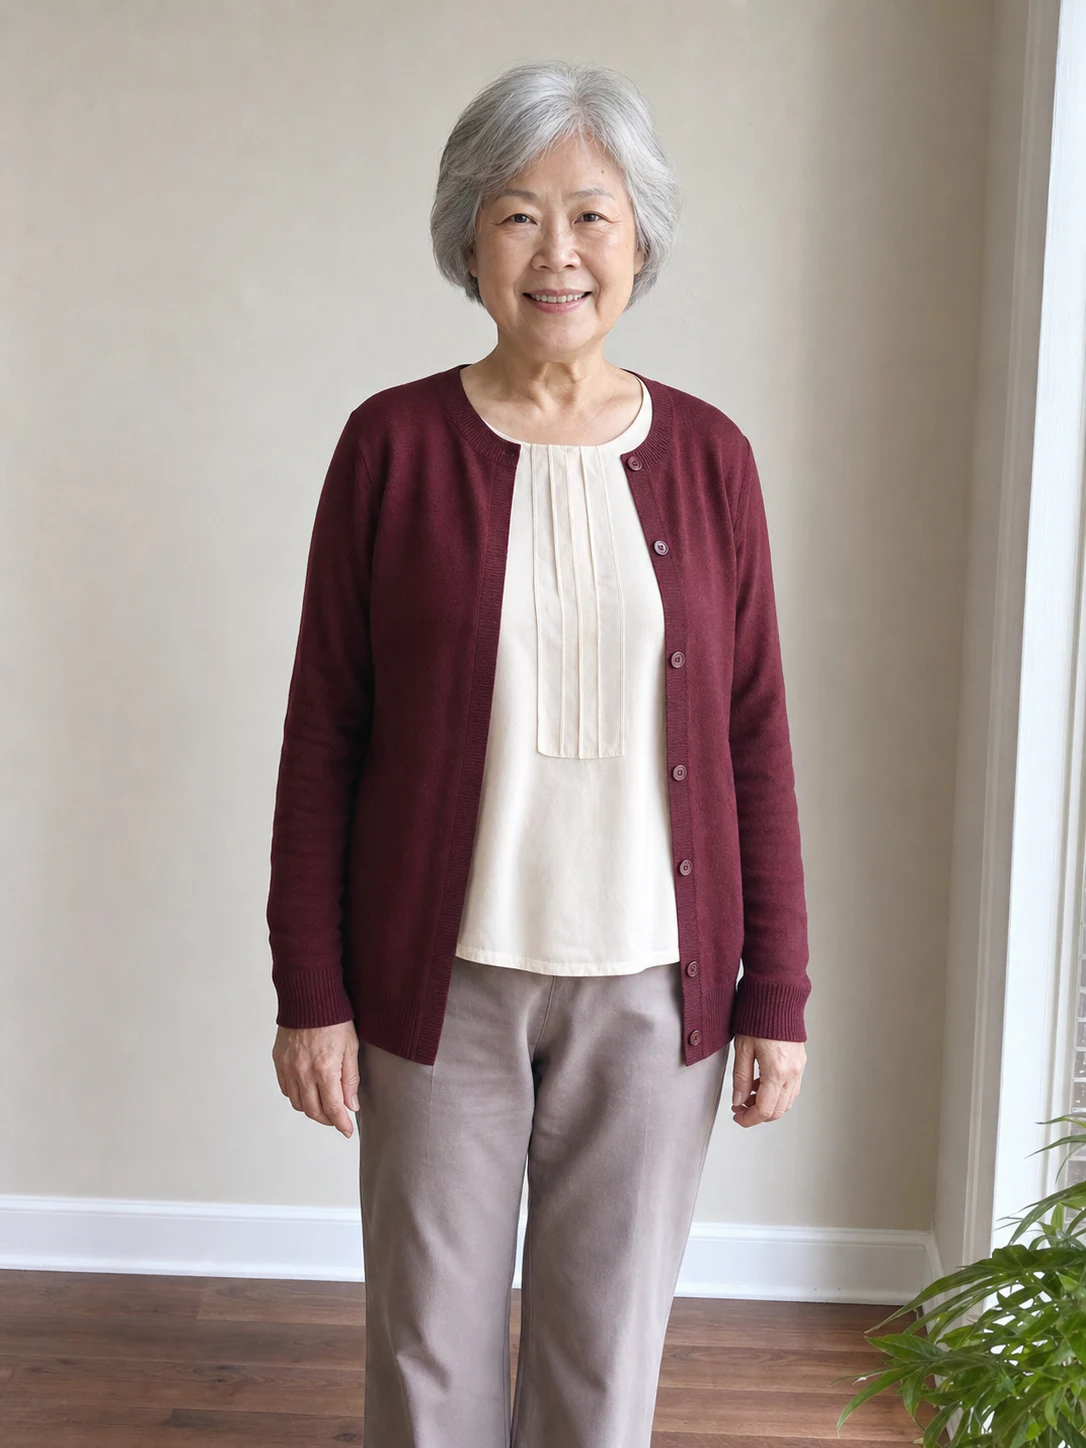
The original three-person group was already complete.
Add Loved One to Photo combines one group image with a separate portrait, then lets you review the completed composition before you keep it.
Group photo
Portrait
JPG, PNG, or WebP · Max 10 MB per photo
No photos ready? Load a sample pair
0/500
Photos upload only after you start. An allowance or credit is restored if the provider does not accept the task.
Output
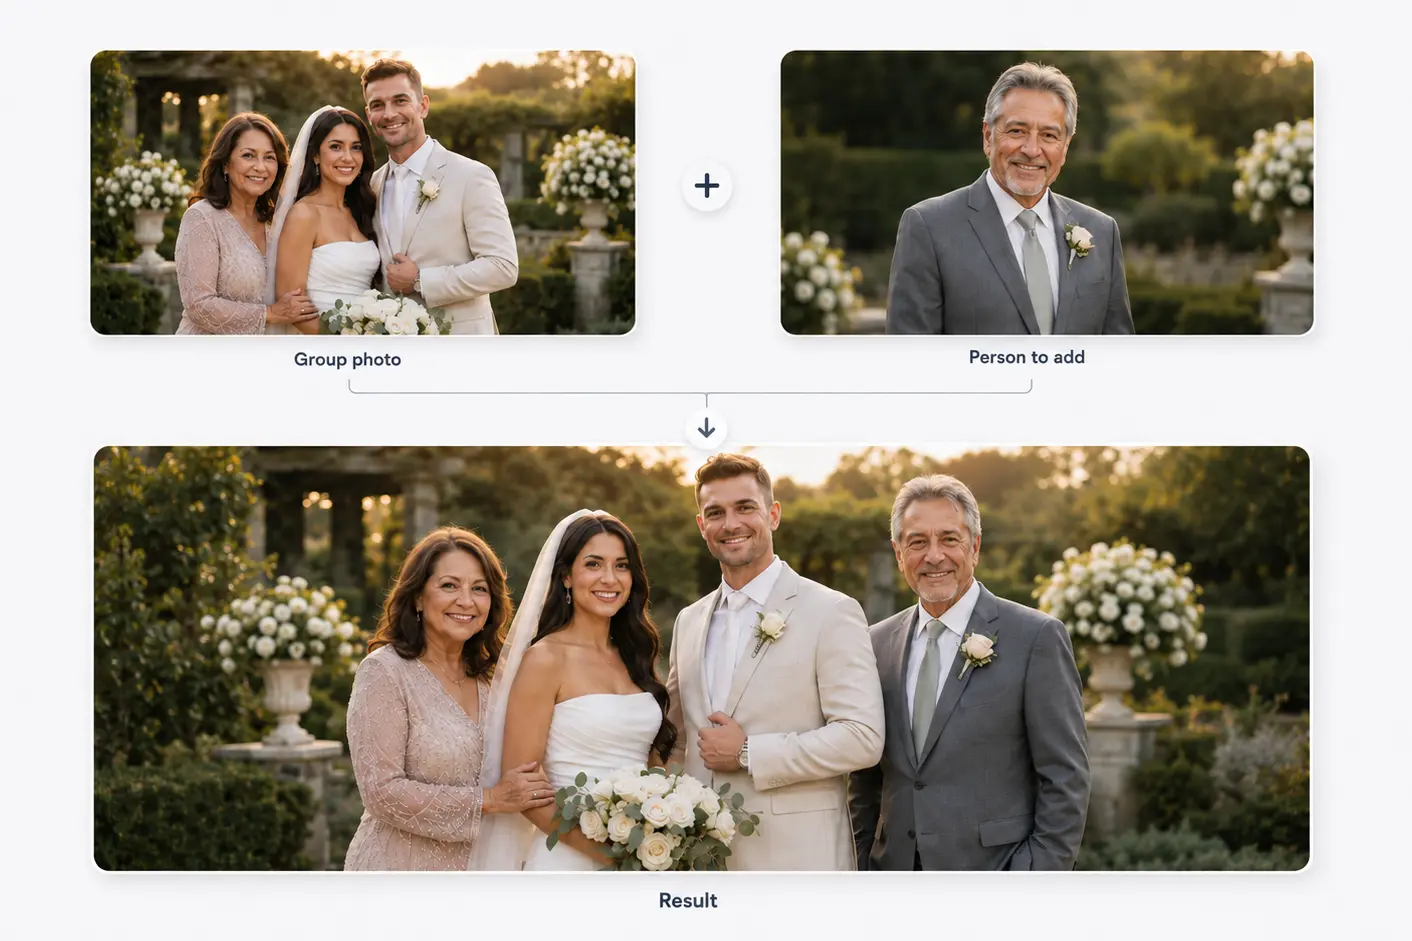
Two photos become one shared moment
Start with a family or group photo and a separate portrait. The person is then added to the main photo.
Results vary with photo angle, lighting, image quality, and available space.
Real workflow examples
See how separate portraits and existing group photos become one composition. Each Add Loved One to Photo example was created through the same two-photo workflow above.
A separate portrait was integrated into an existing indoor family photo, with the group composition, scale, and room lighting adjusted for the completed image.
The original three-person group was already complete.
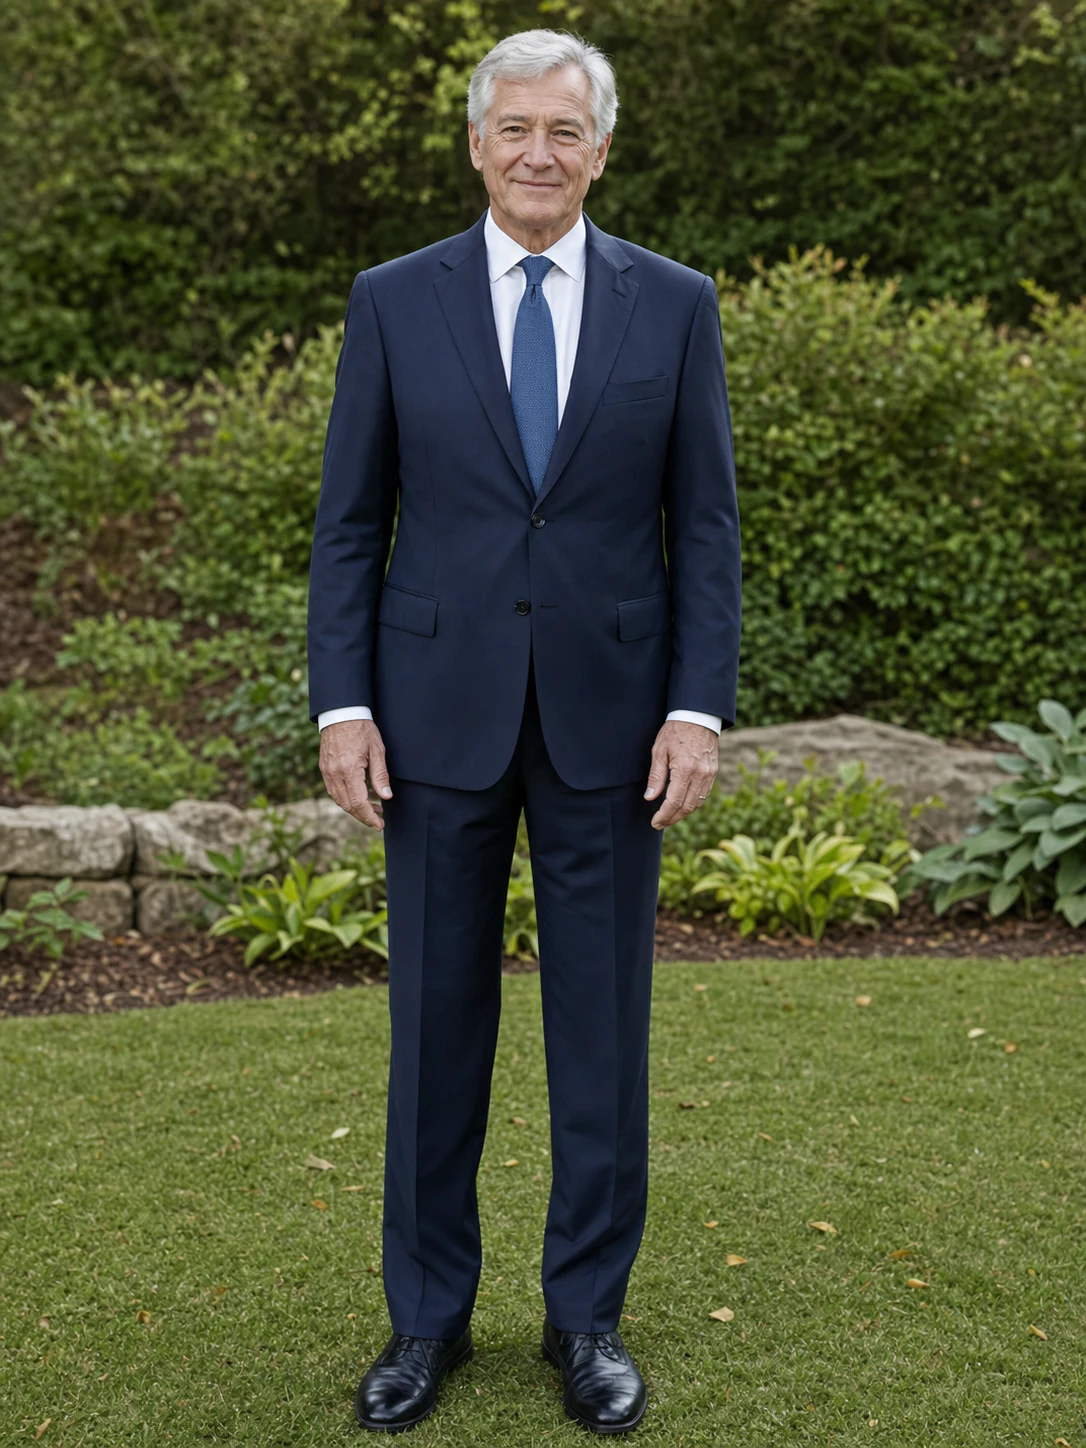
A formal portrait was integrated into an existing wedding group, with the composition adjusted to include the additional family member.
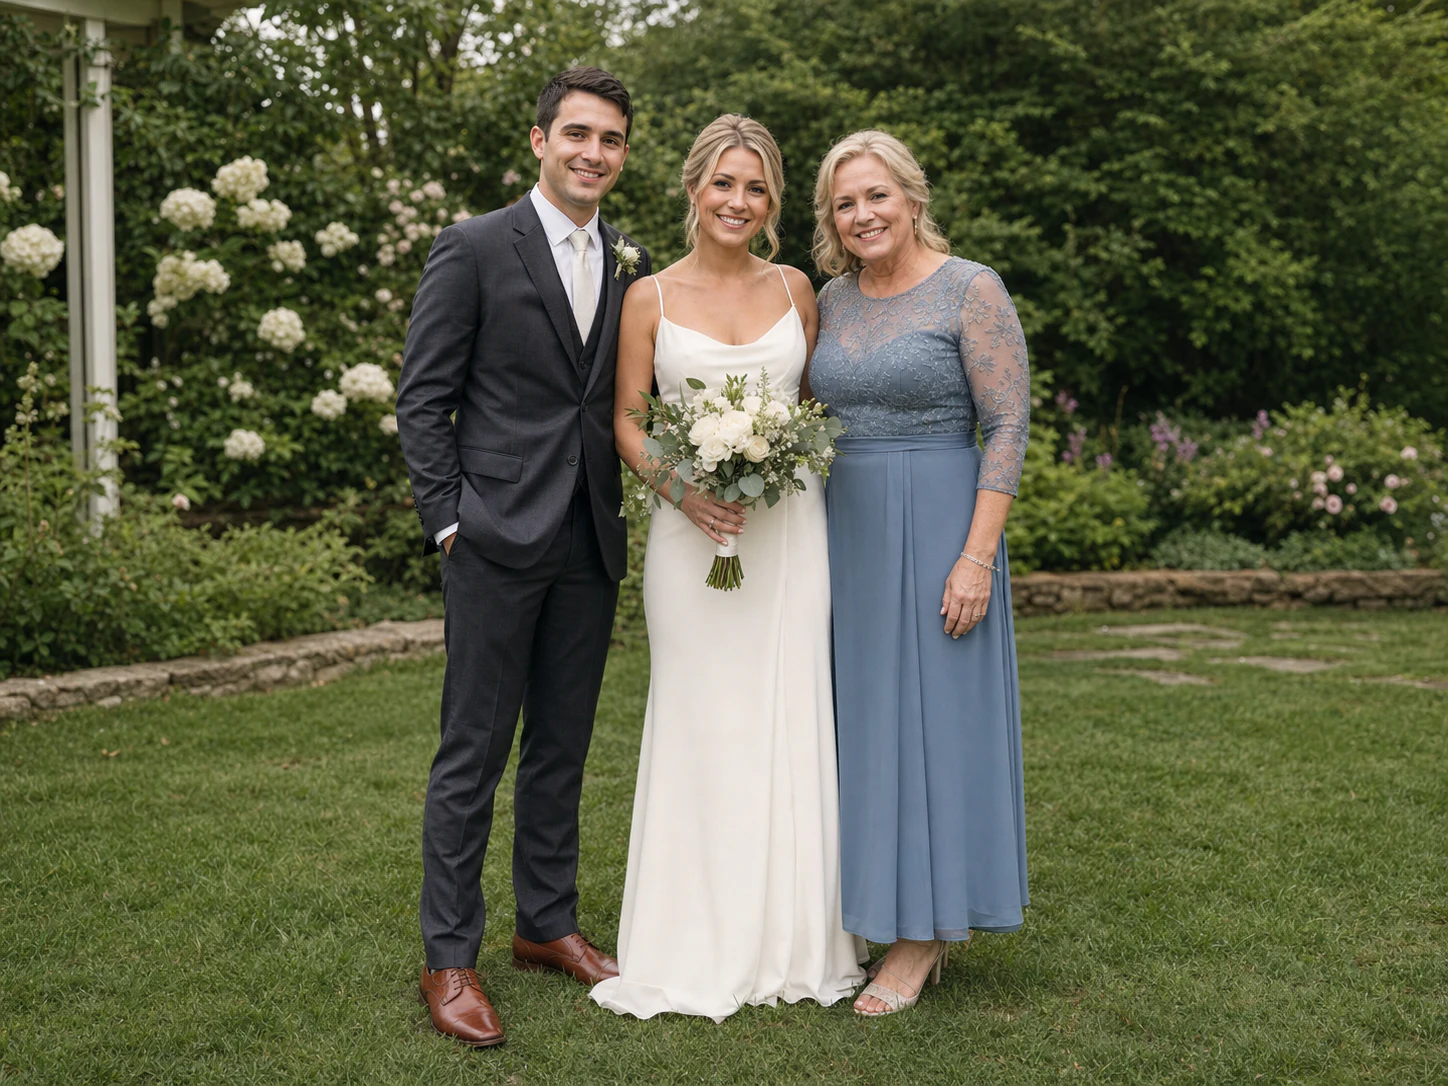
The couple, bouquet, and original family member remain visible.
An older portrait was used as the reference for adding a grandfather to a recent outdoor family photo.
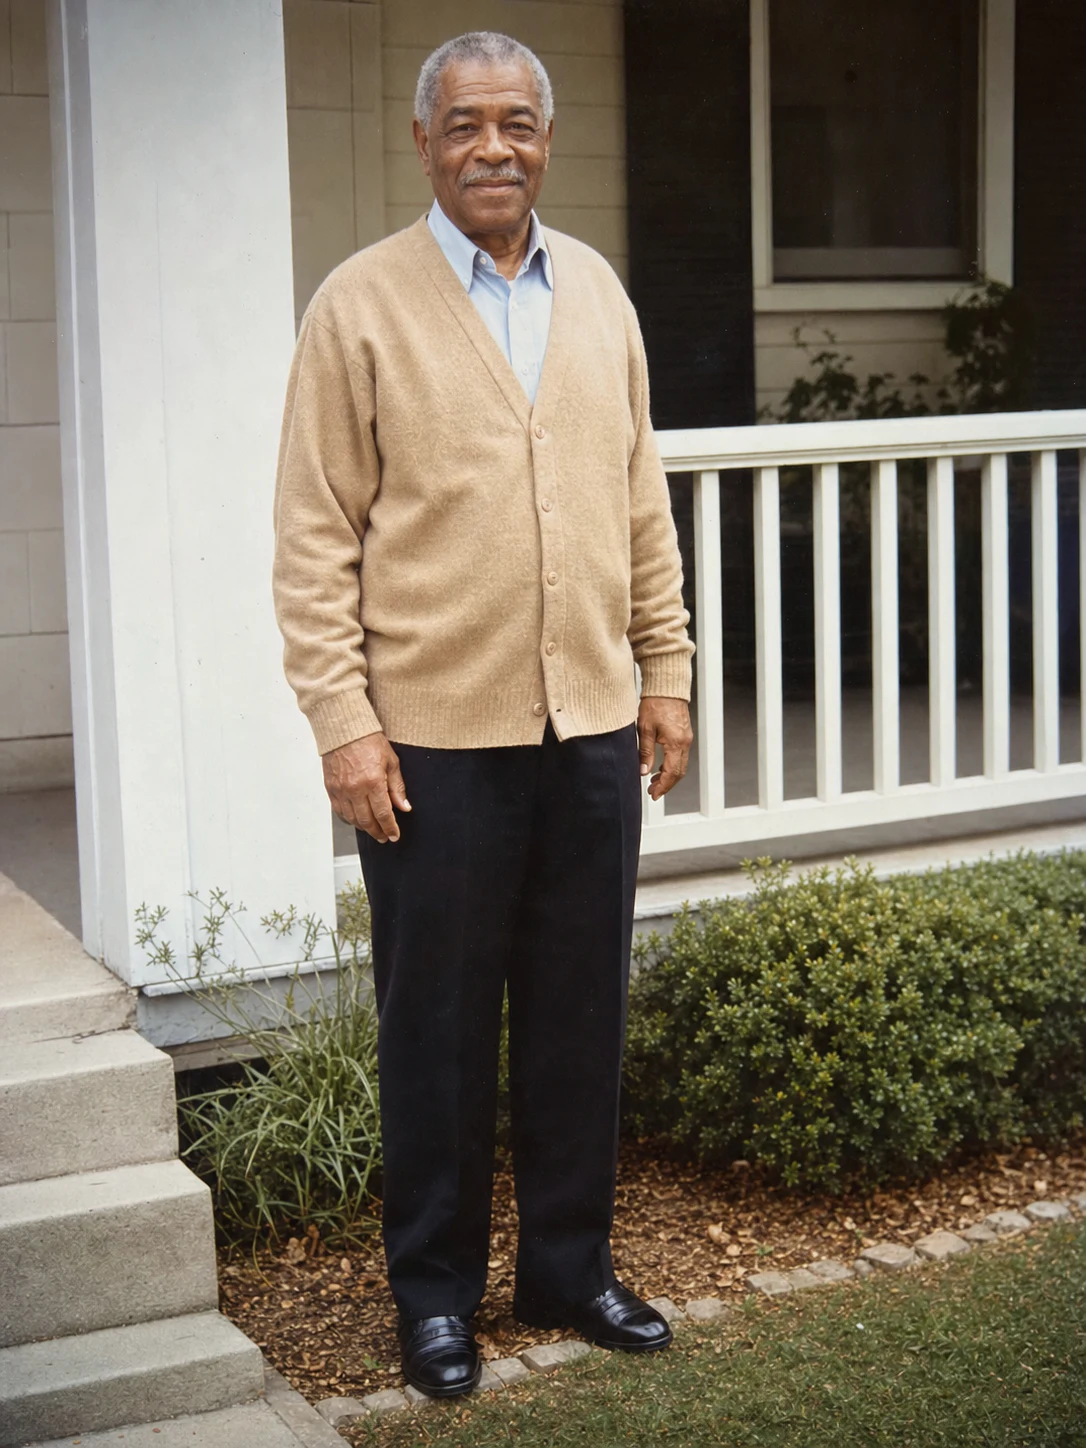
The original close group was rebalanced without removing anyone.
AI-generated examples. Results vary with face visibility, camera angle, lighting, and source photo quality.
For the moments that could not include everyone
When a wedding or family photo was taken without someone important, a separate portrait can help you add a loved one to the photo while keeping the people and details already in the frame.
Add Loved One to Photo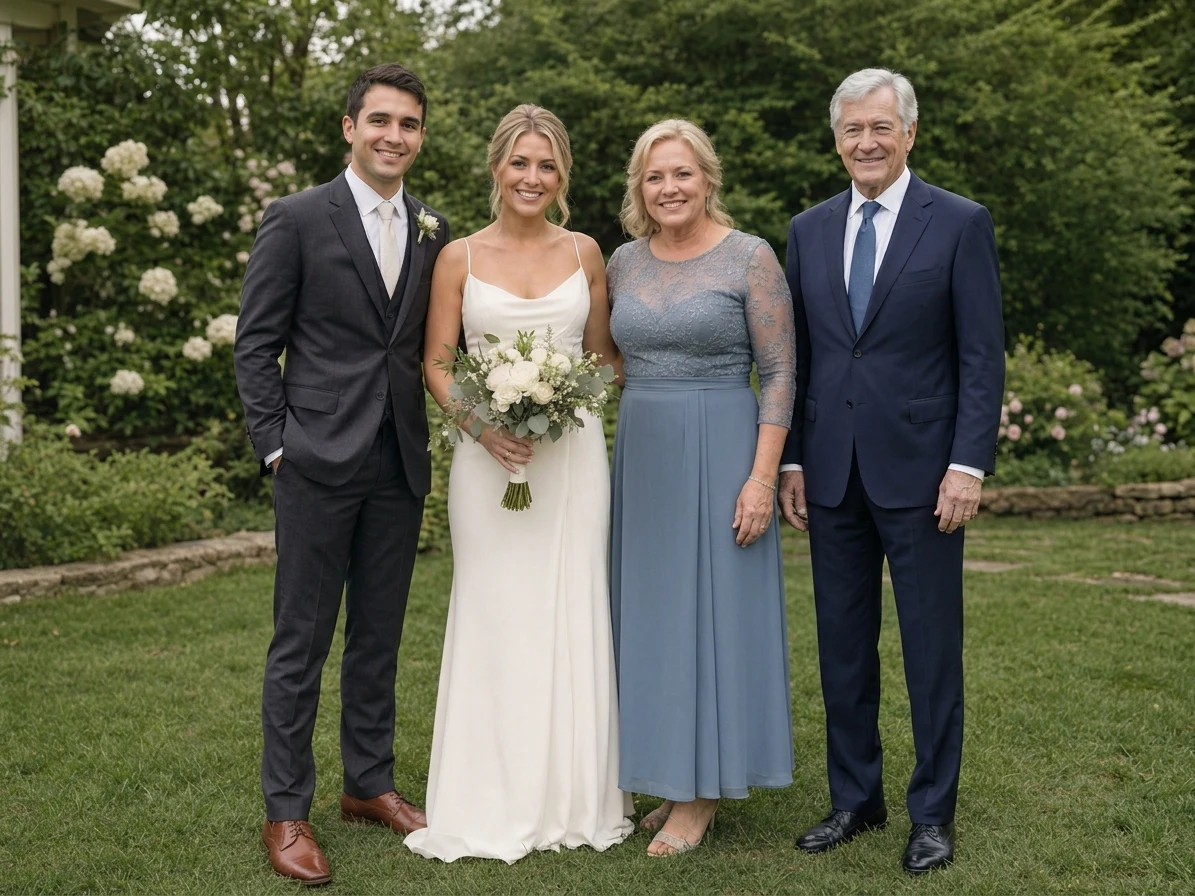 AI-generated example
This is an AI-generated example, not a record of a moment that actually happened. Results vary with the angle, lighting, and detail in your source photos.
Three direct steps
Add Loved One to Photo starts with one existing group image and one separate portrait. The workspace keeps both sources visible while you prepare, generate, review, and download the completed image.
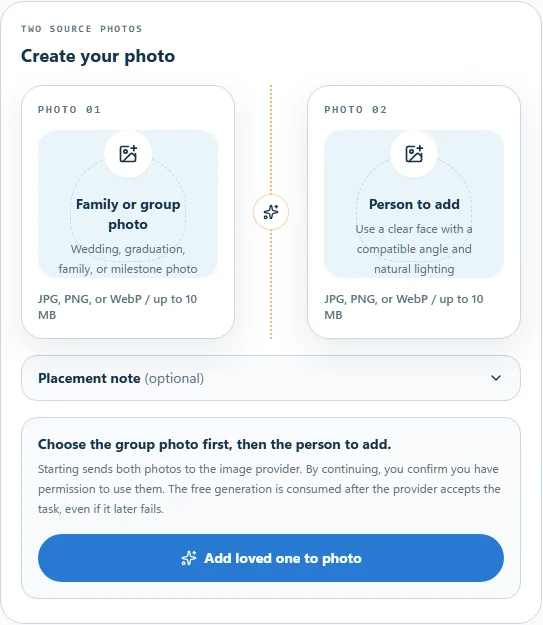
Start with the family, wedding, or event photo that should remain the main scene, then add the separate portrait.
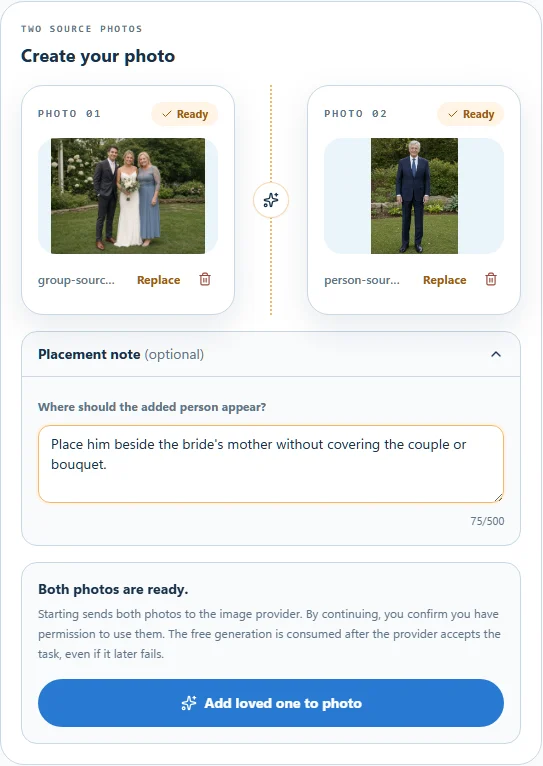
Review both selected photos and add optional guidance for placement, clothing, pose, expression, or protected details.
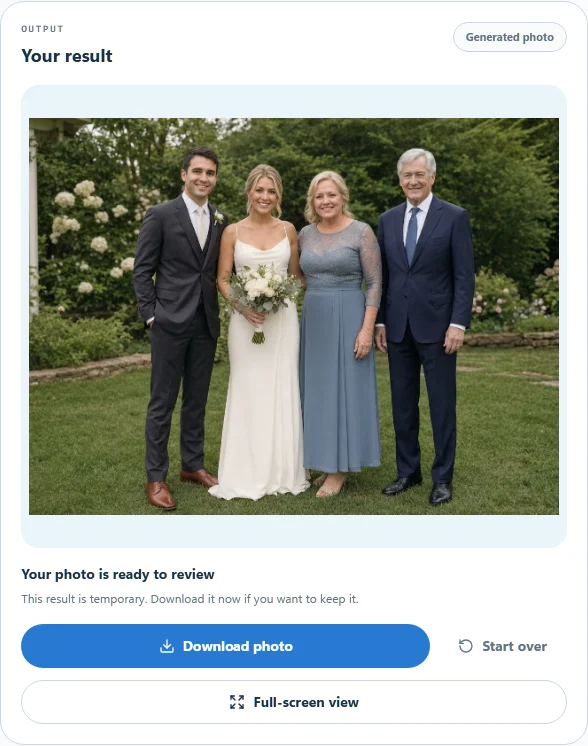
Inspect the generated photo, use full-screen view to check details, and download the temporary result before leaving.
Photo selection guide
For a natural result, a clear portrait is only the start. Camera angle, light, visible body detail, and the quality of the original files all affect how well Add Loved One to Photo can combine the two sources.
Existing group photo
Separate portrait
Five compatibility checks
Use a familiar expression with sharp eyes and unobstructed facial features.
A front-facing portrait fits a front-facing group more naturally than a high-angle selfie.
Look for highlights and shadows arriving from roughly the same side.
Use the uncropped group photo so faces, hands, clothing, and event details can remain visible.
Choose the highest-resolution originals available instead of screenshots or heavily compressed copies.
Related use cases
Straight answers
Practical answers about source photos, AI-generated results, and what to check before you add a loved one to a photo.
Before you start
Yes. Add Loved One to Photo uses one existing group or event photo as the base and one separate portrait as the person reference. The current workflow creates a result with one added person.
Upload the photo you want to complete, add a separate portrait, and optionally describe where the person should appear. The tool generates the composition for you, so no manual cutting, masking, or layer editing is required.
Yes. You can use a wedding, graduation, reunion, or family photo as the base and a separate portrait of the person you want to include. Review the generated result carefully before printing or sharing it because AI may reinterpret facial and scene details.
Not in the current workflow. Each generation accepts one base photo and one portrait, producing a composition with one added person. Adding several people requires a separate multi-person workflow and additional quality checks.
Choosing source photos
Use the highest-resolution originals available, with a clear unobstructed face and enough shoulder or body detail for the intended placement. Similar camera angles, body positions, and lighting directions give the generator a stronger starting point.
You can try the clearest scan or photograph of the print you have. Severe blur, a very small face, missing facial detail, or heavy damage can reduce resemblance, and a badly damaged portrait may need restoration before composition.
No. Most people start with a photo that was already taken without leaving a deliberate gap. The generator can rebalance the composition, but a tightly packed group or important details near every edge leave fewer believable placement options.
Yes. Use the optional placement note for a short instruction such as beside the bride or at the left edge of the group. Describe the intended position rather than rewriting the person's appearance, which is already supplied by the portrait.
Results, credits, and privacy
AI must infer pose, body, scale, lighting, and details that may not exist in the portrait, so identity and surrounding parts of the image can change. A clear compatible reference reduces uncertainty but does not guarantee an exact reproduction; inspect faces, hands, clothing, and event details before using the result.
The tool asks for confirmation before replacing an existing result. A new provider-accepted generation uses another free allowance or one credit, even when you prefer the previous result; a credit is restored only when our service cannot submit the task to the provider.
Your selected files remain in the browser while you review them. After you start generation, our server may send both photos and any placement note to third-party image-analysis and image-generation providers so they can prepare and create the result.
Use full-screen view and zoom to inspect the result, then download the photo you want to keep. Result links and job records are temporary, so do not rely on the workspace as permanent photo storage.
Choose one group photo and one separate portrait, add optional placement guidance, and create one downloadable result. Review both source photos before you start.
Add Loved One to Photo Online